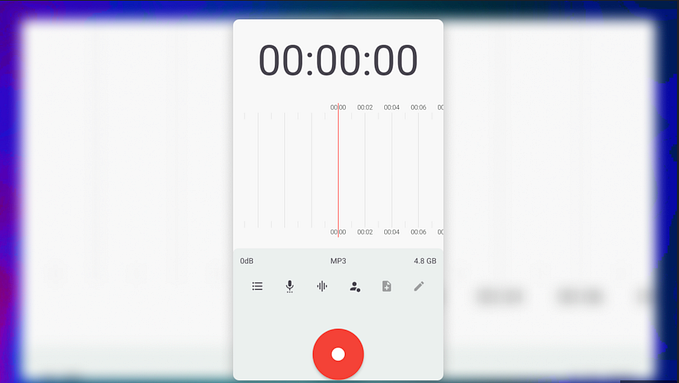
Building a recording app with expo-av: The missing part
When developing a recording app for commercial use, it is crucial to consider the various edge cases. This is especially important if losing data is not an option.
The following are the most critical edge cases to consider
- Network failure (If it requires uploading the recording to the cloud)
- Call Interrupt during the recording process
- Background recording
- Recording Crash recovery.
Expo-av provides a solution for the first three edge cases, which you can learn more about at https://docs.expo.dev/versions/latest/sdk/av/. However, this article mainly covers the recording crash recovery process.
To start with, imagine while using your recording app to record meetings, and 1 hour into the meeting your phone goes off, or you are done with the meeting and when the app is about to upload the recording to the cloud, the network goes off. These situations can be frustrating not only because of the loss of important data but also due to the effort already invested in the recording.
To solve this problem, there is a need to have a copy of the recording details while it is ongoing, that way when a crash happens we can easily retrieve the audio file from the saved recording.
To implement this, you can make use of the device's local storage or consider using SQLite from expo (https://docs.expo.dev/versions/latest/sdk/sqlite/). For the purpose of this article, I will be using SQLite for the setup.
Firstly, let's define the necessary information we need to store in the DB.
- URI: This specifies the path to which the audio file is saved (temporarily) on the user’s device.
- Recording length (Optional)
Next is to implement the functions to save and retrieve recording details from the SQLite.
Step 1: Install the expo SQLite package
npx expo install expo-sqliteStep 2: Implement the save and retrieve functions
import * as SQLite from "expo-sqlite";
const db = SQLite.openDatabase("temp_recording", "1.0.0");

export const saveOrUpdateRecording = async (
  recordingDetails: {uri: string, length: number, uid: string}
) => {
  return new Promise((resolve, reject) => {
    db.transaction((tx) => {
      tx.executeSql(
        "CREATE TABLE IF NOT EXISTS temp_recording (uid TEXT PRIMARY KEY, uri TEXT, length INTEGER);"
      );
      tx.executeSql(
        "INSERT OR REPLACE INTO temp_recording (uid, uri, length) VALUES (?, ?, ?);",
        [
          recordingDetails.uid,
          recordingDetails.uri,
          recordingDetails.length,
        ],
        (_, { rowsAffected }) => {
          if (rowsAffected > 0) {
            resolve(true);
          } else {
            reject(false);
          }
        },
        (_, error) => {
          reject(error);
          return false;
        }
      );
    });
  });
};

export const getRecording = async (uid: string) => {
  return new Promise((resolve, reject) => {
    db.transaction((tx) => {
      tx.executeSql(
        "SELECT * FROM temp_recording WHERE uid = ?;",
        [uid],
        (_, { rows }) => {
          if (rows.length > 0) {
            resolve(rows.item(0));
          } else {
            reject(false);
          }
        },
        (_, error) => {
          reject(error);
          return false;
        }
      );
    });
  });
};
Step 3: hook the saveOrUpdateRecording function into the recording flow, that way we can keep the copy in the database updated. Update the createAsync of your recording to
const { recording } = await Audio.Recording.createAsync(
        Audio.RecordingOptionsPresets.HIGH_QUALITY,
        (newStatus) => {
          if (newStatus.isRecording) {
            setStatus(newStatus);
            saveOrUpdateRecording({
              uri: newStatus.uri
              length: Math.floor(newStatus.durationMillis / 1000),
              uid: recordingUid.current,
            });
            return;
          }
        }
      )
NB: create a random uid at the top of the page so it doesn't create a new uid every time it runs the saveOrUpdateRecording function. Also, you can get the recording uri at once and always reuse it.
The above implementation ensures that when a crash occurs, we have a backup.
To retrieve all the crashed recordings from the DB, use
export const getAllRecordings = async () => {
  return new Promise((resolve, reject) => {
    db.transaction((tx) => {
      tx.executeSql(
        "SELECT name FROM sqlite_master WHERE type='table' AND name='temp_recording';",
        [],
        (_, result) => {
          if (result.rows.length > 0) {
            tx.executeSql(
              "SELECT * FROM temp_recording;",
              [],
              (_, { rows }) => {
                if (rows.length > 0) {
                  resolve(rows._array);
                } else {
                  resolve([]);
                }
              },
              (_, error) => {
                reject(error);
                return false;
              }
            );
          } else {
            resolve([]);
          }
        },
        (_, error) => {
          reject(error);
          return false;
        }
      );
    });
  });
};
It’s important to keep in mind that the file recovered from the recording uri in the database may be corrupted. This is because it lacks the necessary binary data (located in the header or footer), which instructs the player on how to parse the recording file. This is because the recording process was not completed properly. To resolve this issue, we can make use of a package like https://github.com/anthwlock/untrunc.
In conclusion, developing a robust recording app requires careful consideration of edge cases to prevent data loss and ensure a reliable user experience. By leveraging Expo’s capabilities to handle network issues, interruptions, and background activity, developers can create more resilient applications. Furthermore, integrating SQLite for crash recovery adds an essential layer of data protection, allowing the app to save ongoing recording details locally. This ensures that even in the event of unexpected disruptions, no critical data is lost, and recordings can be efficiently recovered.
If you find this article helpful, please give it a clap and follow me.